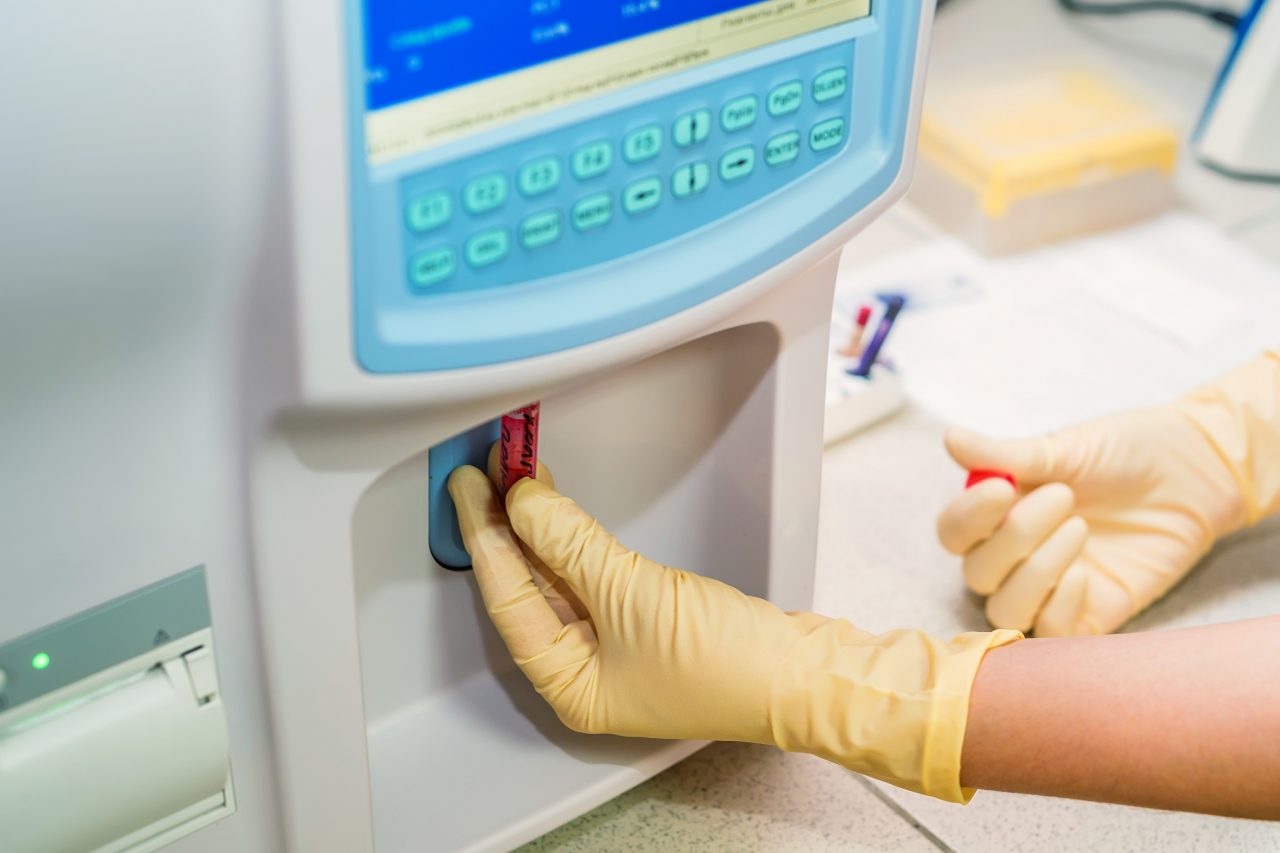
The pH analyzers have two general maintenance procedures: those directed to the analyzer body and those directed to the pH detection probe (electrodes). General maintenance procedures for the pH analyzer body (Frequency: Every six months)Examine the exterior of the equipment and assess its general physical condition. Check the cleanliness of the covers and their adjustment.
Test the connection cable and its coupling system
Check that they are in good condition and that they are clean.Examine the computer controls. Check that they are in good condition and that they can be operated without difficulty.Verify that the meter is in good condition. For this verification, the instrument must be disconnected from the power line. Adjust the pointer to zero (0), using the adjustment screw which is usually located under the pointer pivot. If the equipment has an indicator screen, check its normal operation.
Confirm that the power indicator –bulb or diode– operates normally.Check the condition of the electrode holder arm. Examine the electrode mounting and fixing mechanism, in order to ensure that the electrode does not come loose. Check that the height adjustment works correctly.Check the batteries –if applicable–; change if necessary.Carry out a functional test by measuring the pH of a known solution.Inspect leakage currents and ground connection.
Tips for basic electrode maintenance
The recommended processes for replenishing the electrolyte solution are as follows
Remove the detector electrode from the storage buffer solution.
Rinse the detector electrode with plenty of distilled water.
Remove the top cover of the sensing electrode.
Fill the detector electrode with a saturated solution of potassium chloride (KCl). Use the syringe or applicator that comes with the KCl solution. The filling is carried out through the conduit that protects the upper cover of the electrode. Verify that the tip of the syringe does not touch the inside of the electrode.
Wrap a small part of the top electrode cap to cover the top opening of the electrode.
Use the tip of the syringe needle to pierce the area of the cap that covers the opening to allow a balance of pressure between the inside and outside of the electrode.
Rinse the electrode with distilled water.
Keep the electrode inside the storage buffer solution whenever it is not in use. Electrode cleaning
The type of cleaning required by the electrode depends on the type of contaminant that may have affected it. The most common procedures are summarized below.
General cleaning
Soak the pH electrode in a 0.1 M hydrochloric acid (HCl) or 0.1 M HNO3 solution for 20 minutes. Rinse under running water before use.
Removal of deposits and bacteria. Soak the pH electrode in a 1:10 solution of household bleach for 10 minutes. Rinse with plenty of water before use.
Oil and grease cleaning. Rinse the pH electrode with mild detergent or methyl alcohol. Rinse with water before use.
Cleaning of protein deposits. Soak the pH electrode in 1% pepsin in 0.1 M hydrochloric acid for 5 minutes. Rinse with water before use. After any cleaning operation, it is a good idea to rinse with deionized water and refill the reference electrode before use.
Other care
Do not hit the electrode. Given that its structure is generally made of glass and this material is very fragile –it breaks before it deforms–, it must be handled carefully, avoiding knocks, bumps or falls.
Remember that the electrode is a consumable element and that it has a limited useful life.
When not in use, keep the electrode inside the storage buffer solution.
At Kalstein we offer you an excellent range of pH analyzers that range from economic options to state-of-the-art equipment, recognized for their reliability, precision and ease of use. That is why we invite you to take a look at our available equipment HERE

